
I though I should start off another blog about my forays into CCD astro-imaging since the last blog about it was growing way out of proportion. And since all I have been doing of late is investing heaps of time into getting the "system" to work properly, I felt it was time I paid particular attention to documenting the ups and downs of this wonderful and cheap (well its pretty cheap as it is only available on the used market now. Meade does not make them anymore!) CCD camera. As I have mentioned numerous times across many blogs, we live in the golden age of astronomy gear. The influx of products from the east has made everything so affordable. There is absolutely no excuse now not to get into the complex world of astrophotography, be it afocal or prime focus. So without further ado, let me introduce this wonderous little marvel of a camera we call the Meade DSI.

The Meade DSI One shot color CCD camera was introduced in late 2004. It was a breakthrough product for Meade, much like what Celestron did with their NexImage Planetary and Lunar camera. Several things had it going for the camera. Firstly it was, as mentioned previously cheap. Secondly it had the desirable Sony Super HAD Color CCD sensor, which was heaps sensitive for fainter DSO's. And thirdly it required no external power. Drawbacks included a smaller chip, no active cooling and getting it to work properly with some operating systems was a bear (according to early reports). Also it has an IR chip that is easy to break if you unscrew the 1.25" nosepiece frequently and Meade's Autostar software does not work with Mac's. To use the DSI with Mac's, you will have to either download VW ware and run Window's in the Mac, or use a third party capture software such as Stark Lab's Nebulosity. Thankfully I came onto the astrophotography scene late and most of these teething problems have been solved one way or another by other fellow astronomers. Another plus point coming in late was that these are now available for even cheaper on the used market for beginner astrophotographers like me. Briefly here are the specs:

M5 Serpens
Specifications

M13 Hercules
Meade also boldly proclaims "Take pictures like these your first night out" on its colorful box showing images of M20, M51 and NGC 891. Although not entirely true, learning how to use the camera is not all that difficult. The image capture software bundled with the CCD camera is pretty spiffy. If you have a Meade telescope, Autostar can drive your scope for you. If not all is not lost. Together with Autostar is the Autostar Suite that includes everything required for image capture and processing. In fact Autostar Envisage is able to do "in-house" everything for you from dark frame subtraction to image stacking. Spiffy indeed. All one has to do is master its not so user friendly controls. I have discussed its controls in a rather detailed fashion in the previous blog, including comparisons with Stark Lab's Nebulosity.

M4 Scorpius
Note that there are now 3 versions of the Meade DSI's available. As of writing, none of them are currently in production so you have to get them used online, like I got mine. All three (actually more like six since for every DSI, there is a one shot color version and a monochrome pro version with filter slide) share the same metal convective body. The only difference lies in its chip size. The original Meade DSI, the one I currently use has the smallest chip by far, coming in at a miniscule 648x488 pixels. DSI II has a slightly larger chip, not by much though 748x577 pixels (apparently they are the same as the current Orion Starshoot G3 deep space color imaging camera so if you want to buy new, this is the option). Then comes the DSI III and it has by far the best chip of this series, with a chip two times the size of the original chip in DSI I (1360x1024 pixels). A larger chip means easier framing of objects and better resolution overall.

Now that all the preliminaries are out of the way, here are some tips an tricks to get the most out of your images. Note that I am also a beginner and therefore I am still experimenting. here is a ist of things to do to get you up and running:


And do remember to have fun! I used to think that astrophotography involved heaps of cash outlay and a super precise and super expensive getup, as well as a very steep learning curve. Meade, Celestron and Orion, to their credit, have brought astrophotography to the masses. These cams are a whole heap cheaper than the top of the line cams and they perform pretty well for the price. Also they are a lot more forgiving on the tracking. I use a basic Celestron NexStar 102GT, basically an alt-az GOTO mounted scope and get some pretty good images. While not at the level of the photos you see on Astronomy or Sky and Telescope, they are my personal picture postcards from my travels into outer space...nuff said.....
Note: All photo's taken on the same night from Solstice Canyon, Malibu. 5x20 sec exposure
M6 Scorpius
Now that all the preliminaries are out of the way, here are some tips an tricks to get the most out of your images. Note that I am also a beginner and therefore I am still experimenting. here is a ist of things to do to get you up and running:
M66 Leo
- The most important thing on the list is probably to firstly make sure you computer's operating system works with the Meade DSI drivers. People have had issues in the past, but it looks like most of the kinks have been ironed out. There were a lot of people having issues with running Meade's Autostar and Envisage on laptops running Windows Vista. I am happy to note that I have not had any major issues. I downloaded the drivers from Meade's web site and it seems to be working just fine.
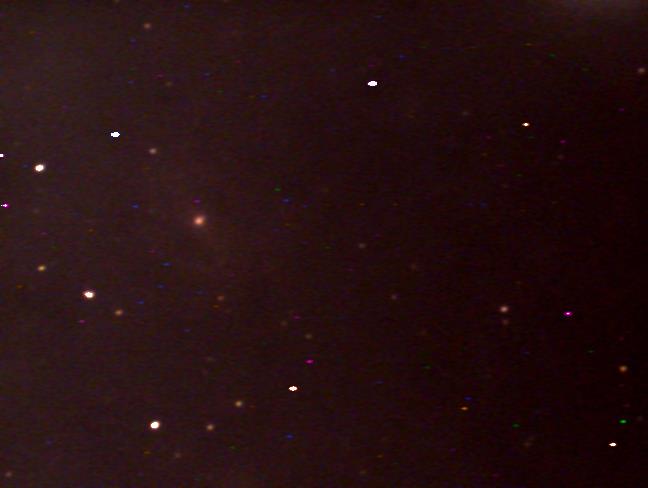
NGC 4361 Corvus
- Make sure your scope has enough backfocus!! I cannot overemphasize this. I though my CCD cam was broken, until I discovered all my short focal length newtonian's did not have enough backfocus to get a focused image. Refractors do not have issues as they have a long backfocus. My problem was immediately solved when I went the refractor route. SCT's would work fine too as would Mak's (I am assuming this but don't quote me on it!).
M92 Hercules
- Another issue a lot of people have is underestimating the magnification factor and getting objects square on the chip to focus, let alone image. At prime focus, the CCD cam gives a magnification factor similar to a 6mm eyepiece, so imagine how hard it would be to get anything in the FOV if you are using a long focal length scope. Also since the original DSI had such a small chip, getting the image square on the chip is a major hassle. Firstly, if you are going to be imaging with SCT's, their long focal length can immediately work against you. With that said, imaging with a focal reducer is an absolute must. With SCT's you have a wider choice of focal reducers available to you since there are focal reducers made in all reduction factors. With refractors its harder as you have to get screw on ones. A few places carry such 1.25" reducers such as Agena Astro, Adorama, Orion USA, Owl and a host of others. They are all 0.5x reducers so they cut your scopes focal length by half and go for around $30! I got mine from Orion telescopes and it made a whole world of difference when imaging DSO's.
M57 Ring Nebula Lyra
- Focusing. Another major issue is getting the cam to focus. The first few tries for me was frustrating as I could not get the cam to focus. And when it is not focused, all you get is a white screen. The refresh is also very slow and it takes time to get it right.....but spend time finding the focal point for your scope and then either mark it (as I did on my focus drawtube using a marker). The other option is to use the parfocal rings that come with the DSI. Mine did not have the screws so I could not use them. Also when finding the correct focus, use a Hartman Mask. It can be as simple as two slits drawn on each side, one vertical and one horizontal. Place this over the aperture and you will get two images, focus until you get a single point and that is your point of focus! Note that the original Meade DSI's, while good never seem to get stars pinpoint sharp no matter how good your focus is. This is just one of the quirks of the cam.
M83 Southern pinwheel Hydra
- Take dark frames, although I found this to be a non issue most of the time I was imaging. Its amazing how low electronic noise is on this CCD cam. Just make sure you let the cam equilibrate to ambient temperature if you are coming from a warm room out into the open field. Also instead of letting the cam take dark's for every single exposure (takes about 10 minutes to do this!!!), you can choose to just do dark's for the exposure you usually work with.
M22 Crackerjack cluster Sagittarius
- Take as many shots as humanely possible for stacking. This will greatly increase data in your image (those wispy nebulae tendrils will show up only if you stack multiple images) and reduce noise.
M104 Sombrero Galaxy Virgo
- If possible try to image from a dark site. I know this isn't always easy, especially if you are living in a big city. But try to get away. Its amazing what a difference this makes. A good example are some of my earlier images (see the post on Astrophotography). Notice how red the backgrounds were. This is actually the direct result of light pollution. The color balance of my images were all out whack. Also exposure times tend to be very limited, even when you stack images. I found for some parts of my Los Angeles sky, I could not even do 20 second exposures!!!! Under the darker skies of Solstice Canyon in Malibu, even 30 seconds is doable without a filter. One of the tricks I use when imaging from suburbia is to use a Orion SkyGlow filter. this helps heaps with imaging the brighter fare and getting properly color balanced images. a downside to this is on fain objects. Electronic noise is very evident and some images appear downright grainy with the filter. under such circumstances, take dark frames.
M97 Owl Nebula Ursa Major
- Finally learn to use Photoshop properly to bring out the data in you images. I am not going to go into the details here because there is so many things you can tweak on your image to bring out those faint spiral arms.
M81 Bodes Galaxy (top) and M82 Ursa Major
And do remember to have fun! I used to think that astrophotography involved heaps of cash outlay and a super precise and super expensive getup, as well as a very steep learning curve. Meade, Celestron and Orion, to their credit, have brought astrophotography to the masses. These cams are a whole heap cheaper than the top of the line cams and they perform pretty well for the price. Also they are a lot more forgiving on the tracking. I use a basic Celestron NexStar 102GT, basically an alt-az GOTO mounted scope and get some pretty good images. While not at the level of the photos you see on Astronomy or Sky and Telescope, they are my personal picture postcards from my travels into outer space...nuff said.....
Note: All photo's taken on the same night from Solstice Canyon, Malibu. 5x20 sec exposure